Check out the "how to install" section before you buy.
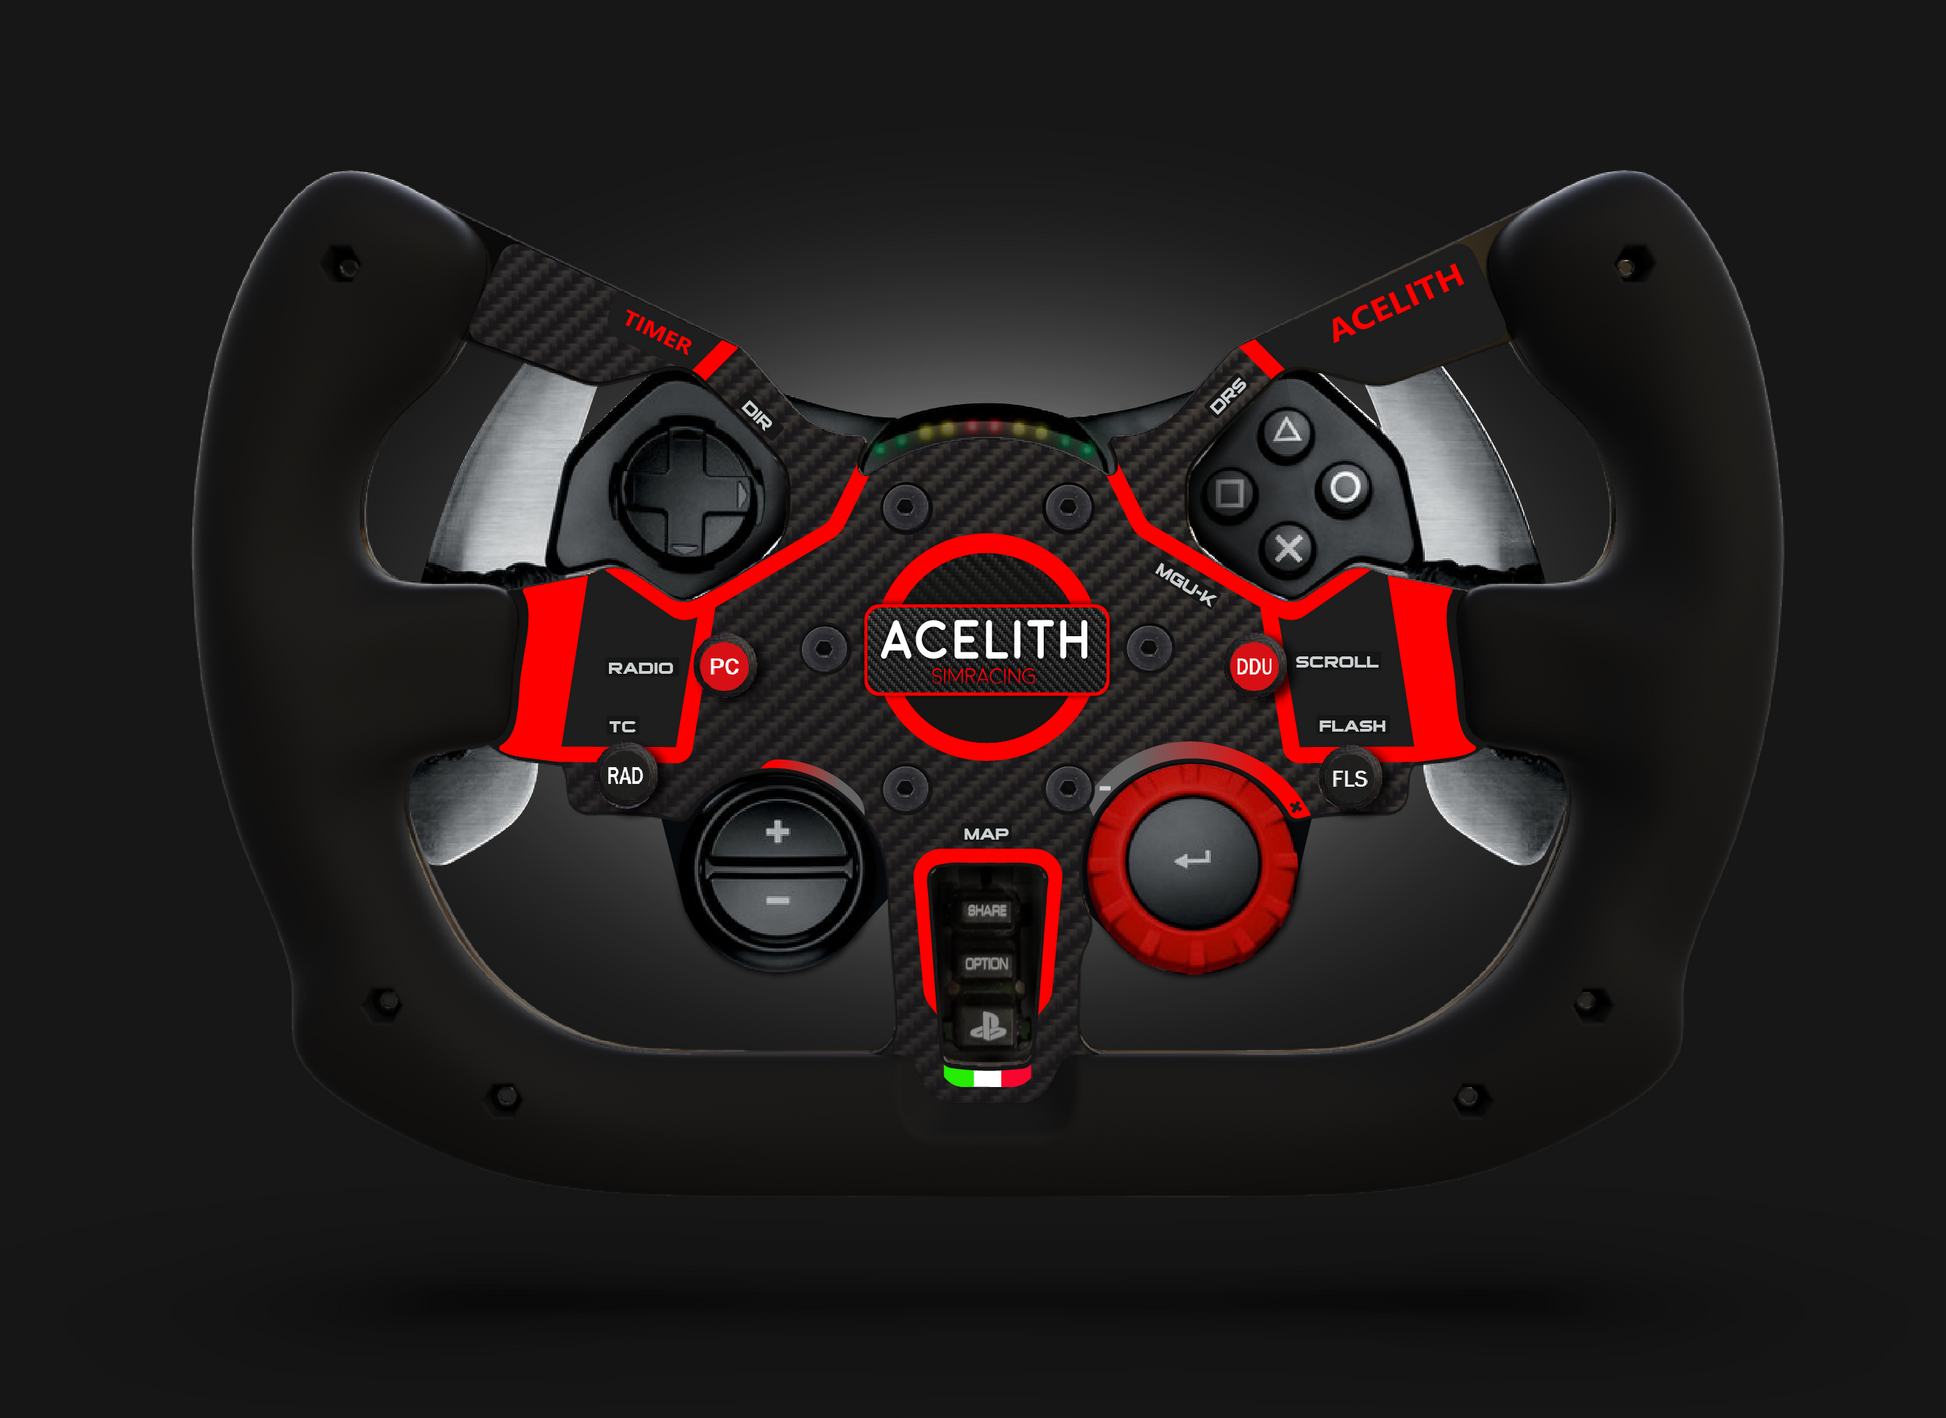
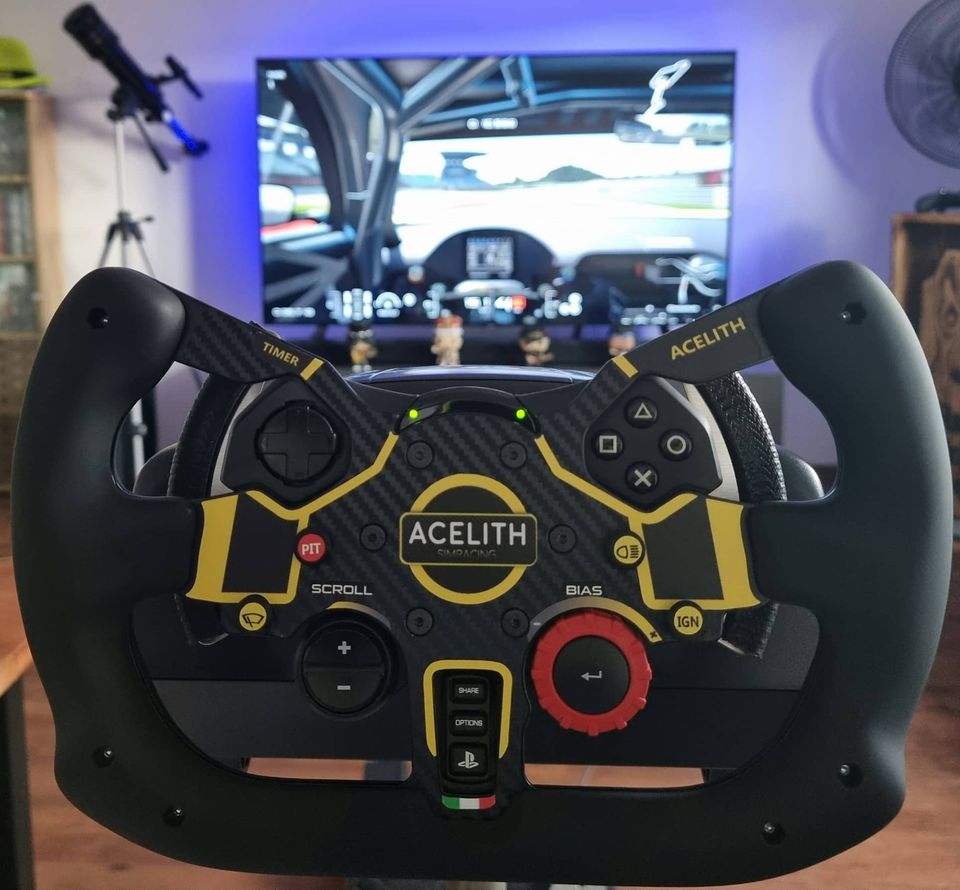
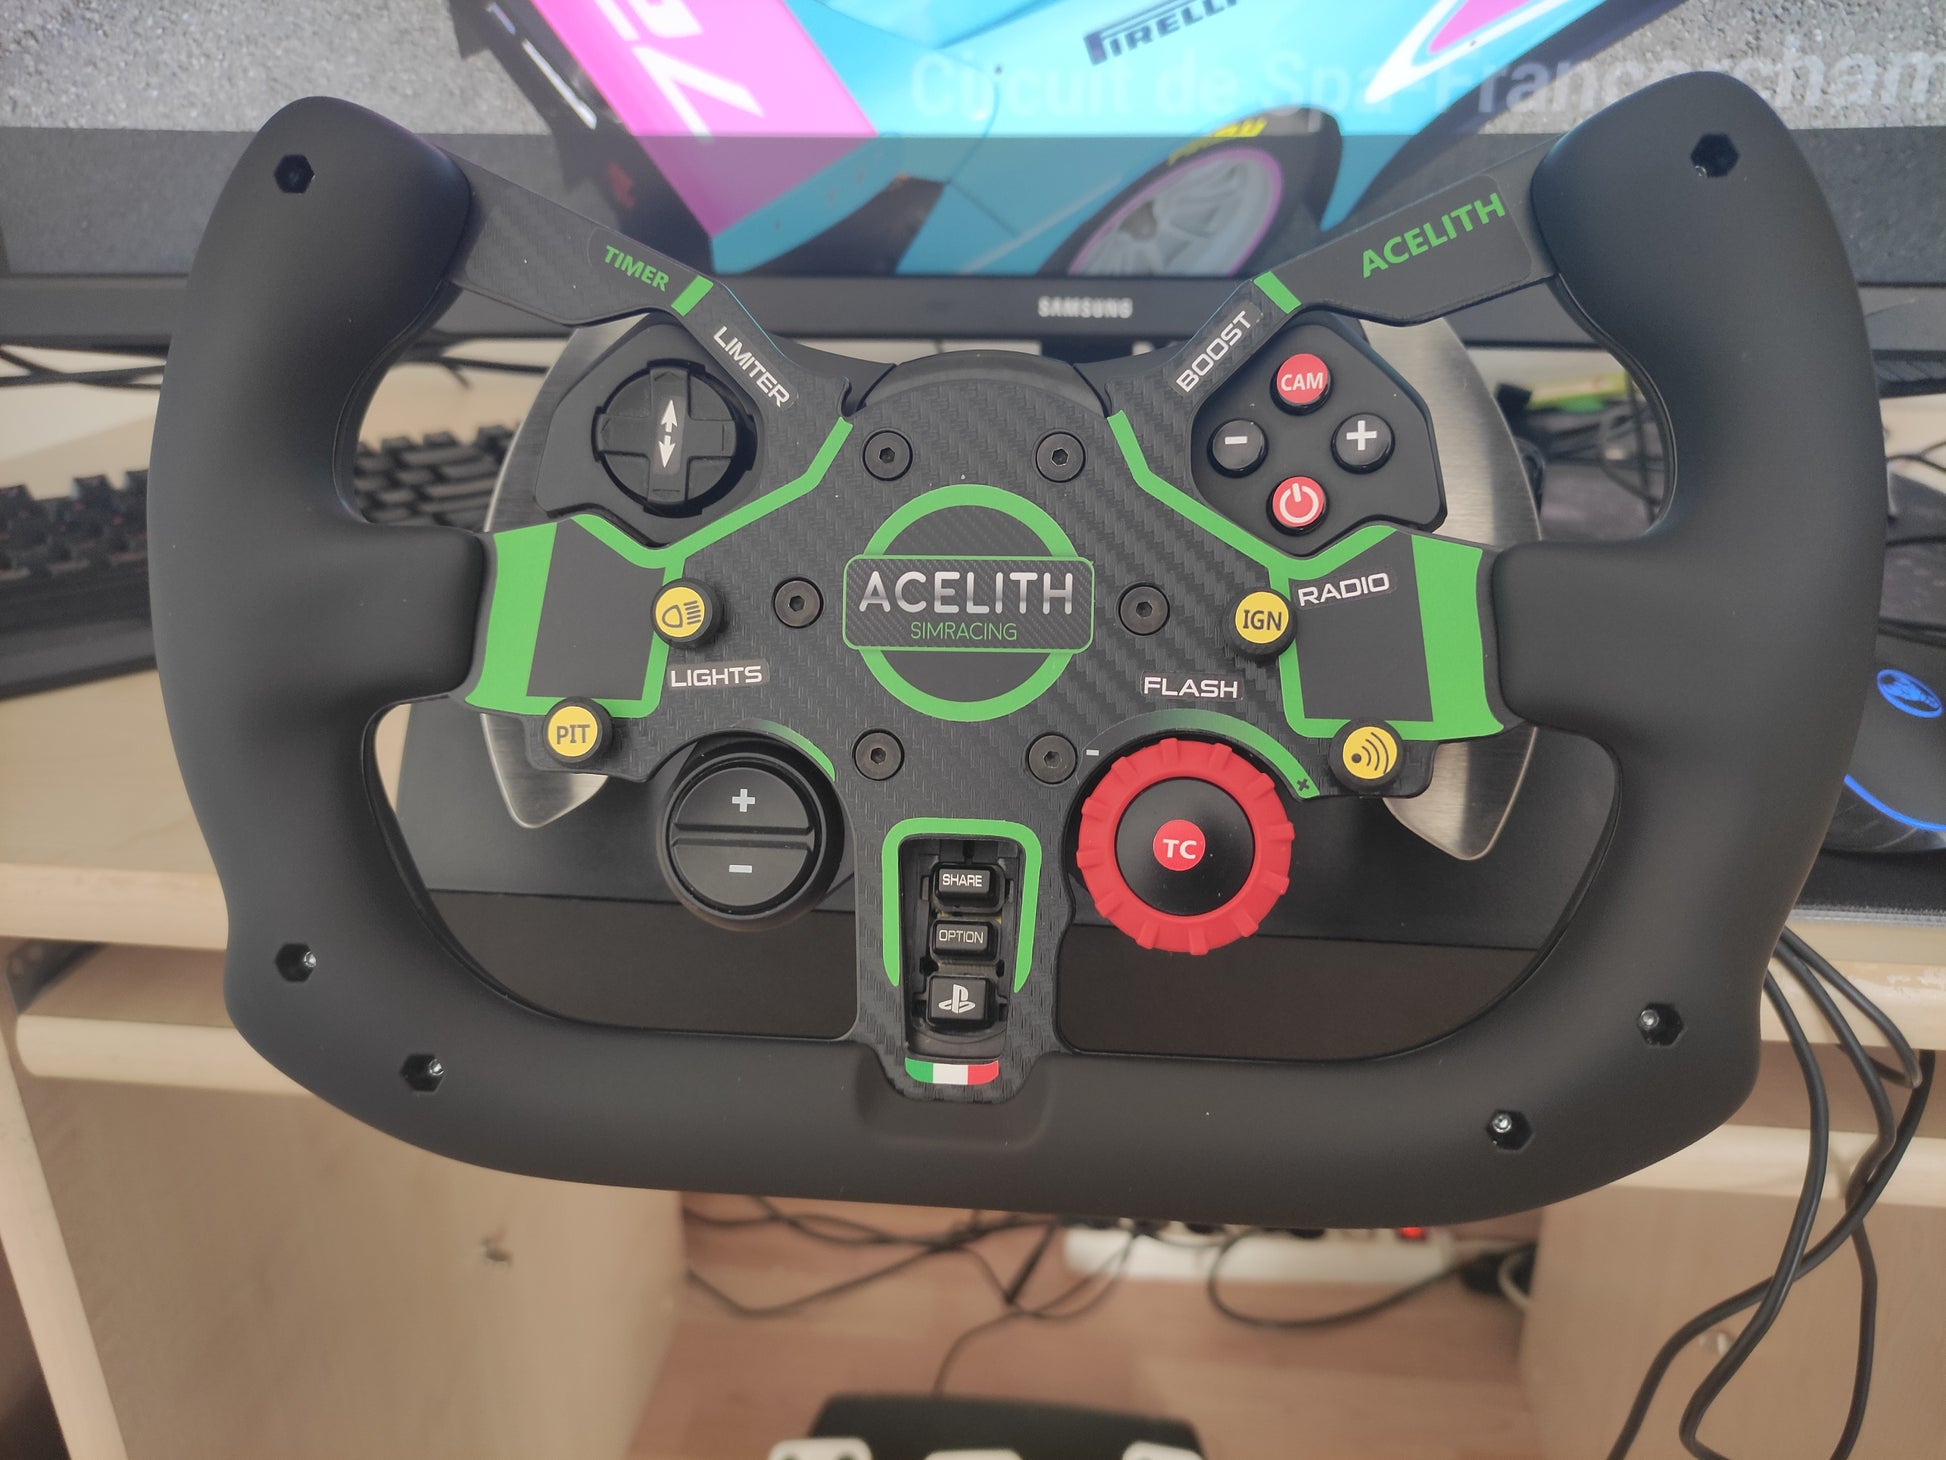
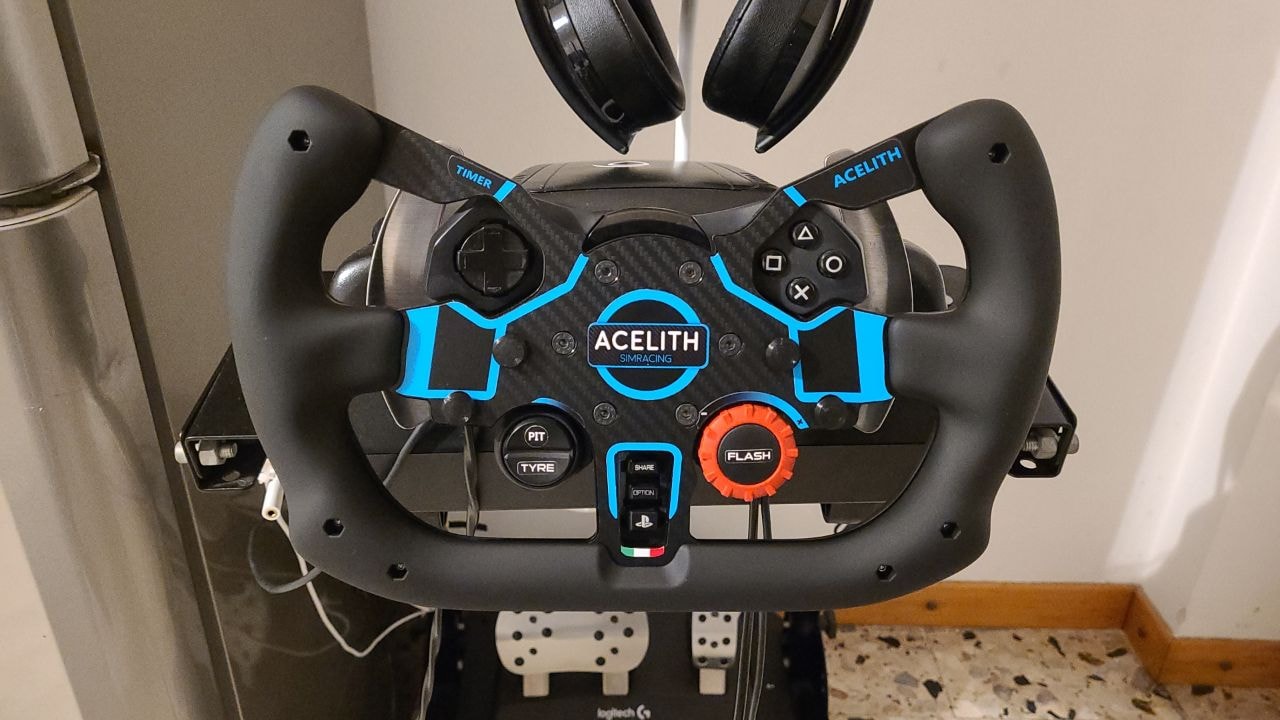
Mod for Logitech G29 / G923, Gt3 style, 28cm.
The mod includes:
(NEW)Set of handles with STP (Soft Touch Paint).Thanks to the soft touch paint, the handles offer a "rubbery" effect, even though they are made of hard plastic.
Stickers already installed;
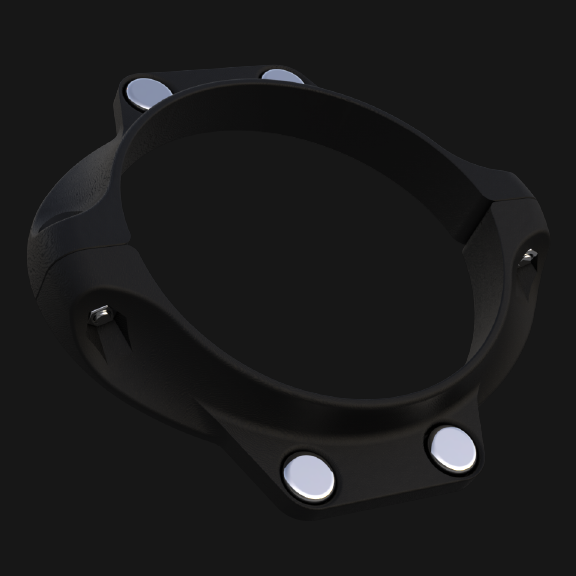
Laser Cut, black painted steel plate.
A kit of universal stickers to customize the controls (DRS, RADIO etc with black background);
A kit of universal ROUND stickers;
Spacer, screws and nuts;
L2, L3, R2 and R3 buttons.
Requirements:
A Logitech G29 / G923, of course;
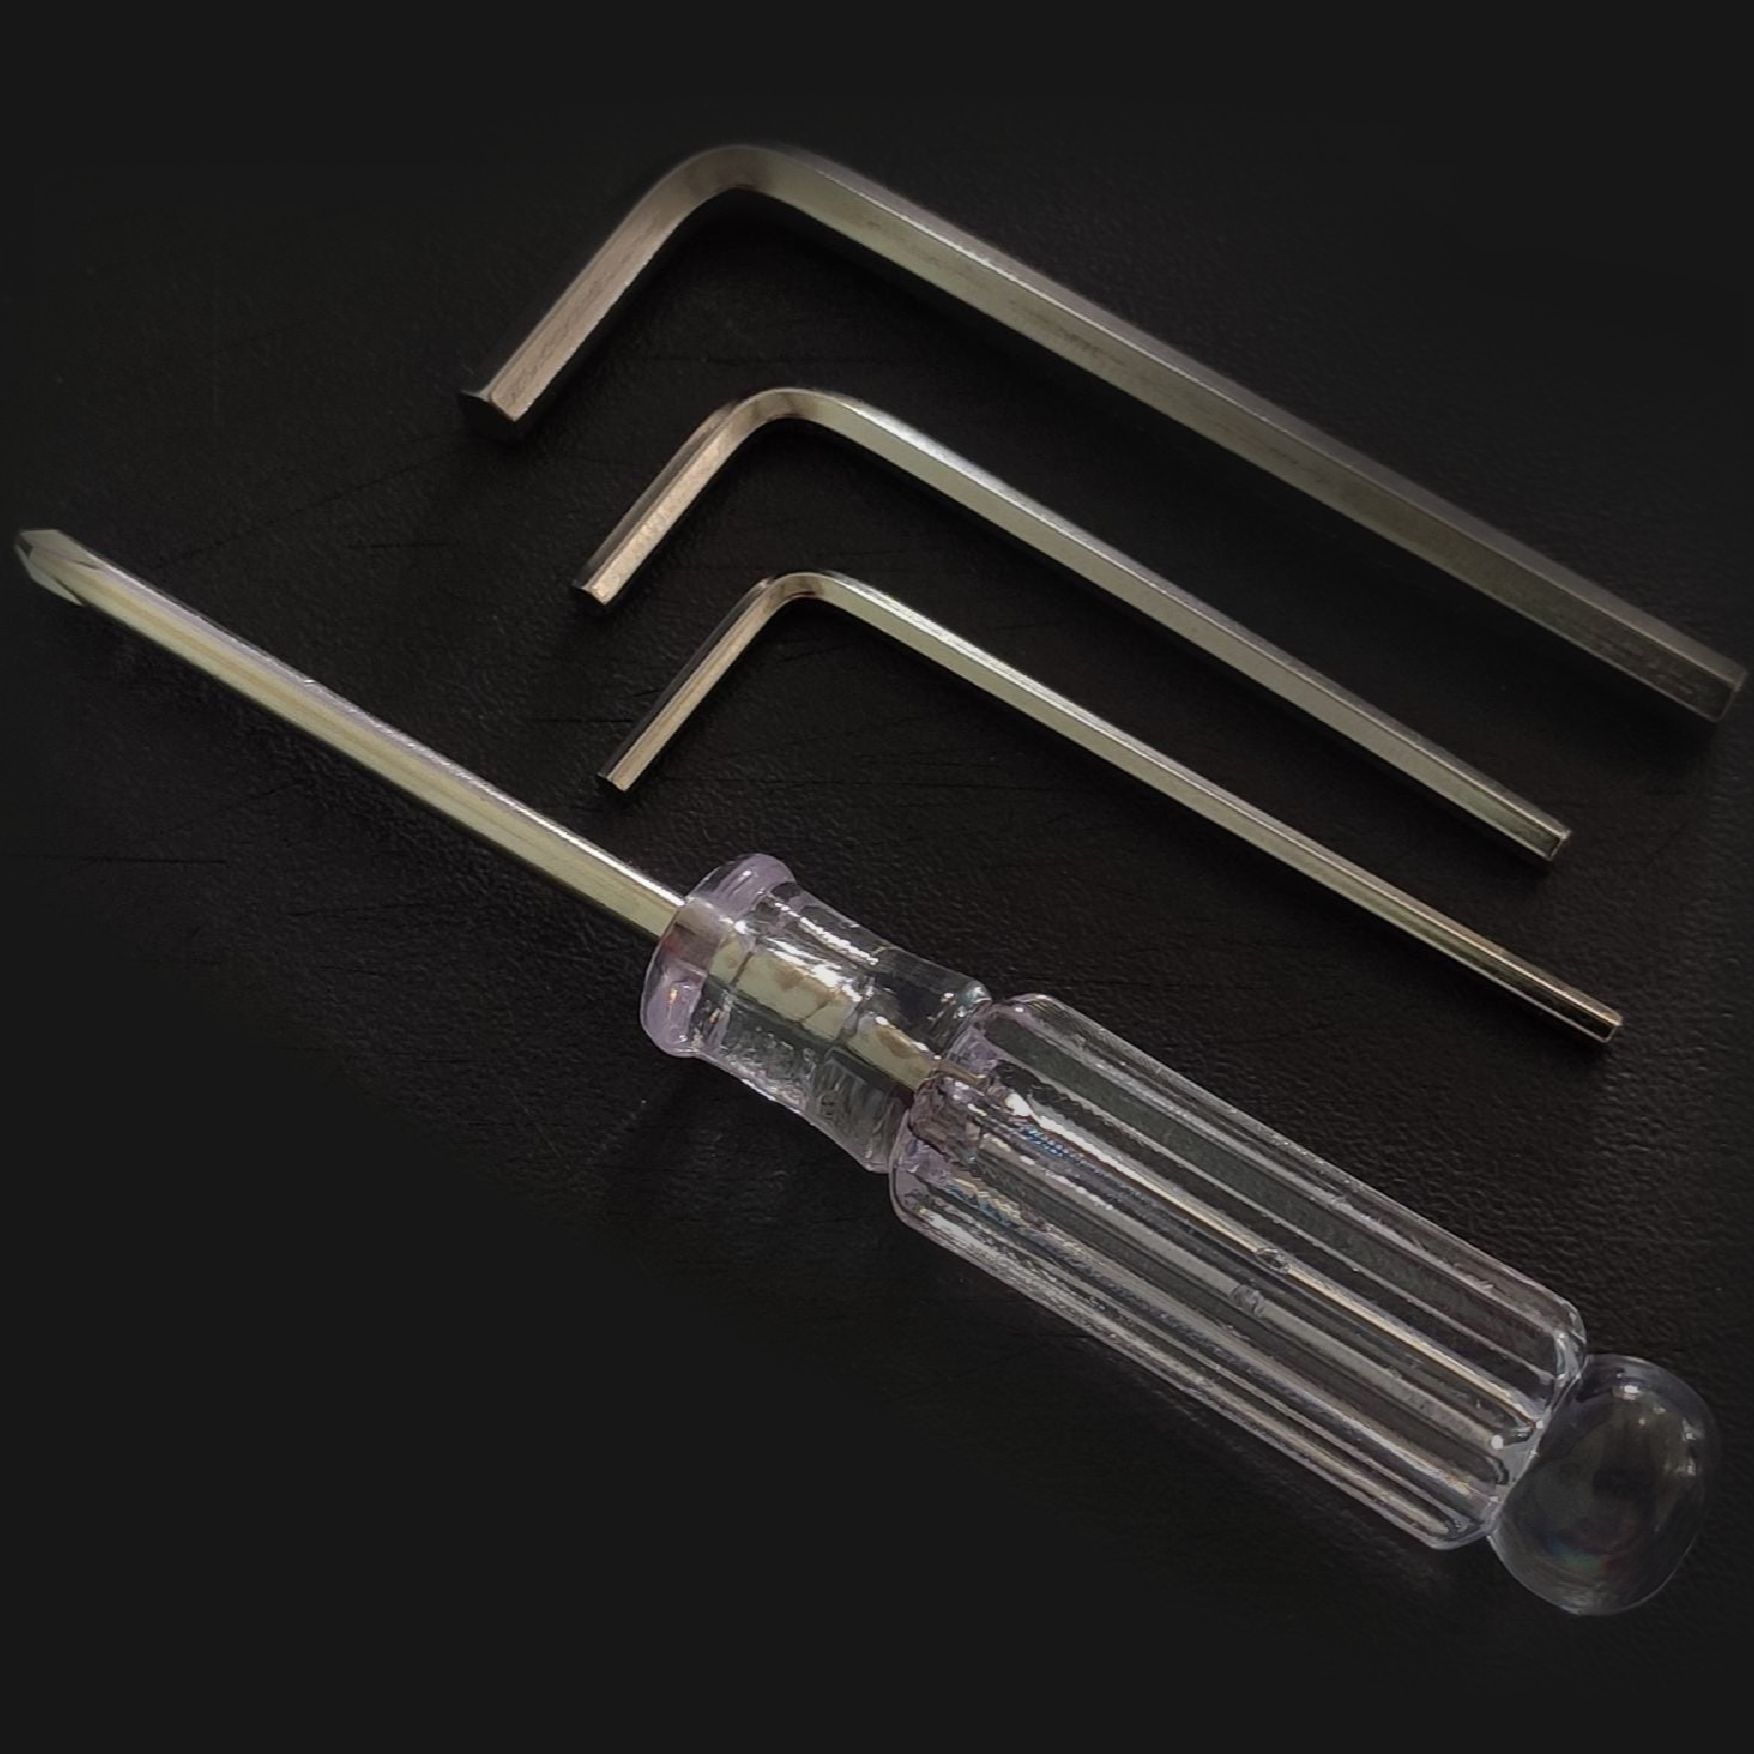
These tools: 1 allen key H2 1 allen key H2.5 1 allen key H4 Mini Phillips screwdriver
If you don't have them, add the optional 'assembly tools' to your cart
This mod is compatible with the G29 and both the PS and XBOX versions of the G923. However, the layout is optimised for the PS version.
Due to our summer holiday closure, only orders placed by August 1 are guaranteed to be shipped on time. We will then be closed from August 7 to August 23.
Even during our closure, I'll do my best to be available for support whenever possible.
SUBSCRIBE TO OUR NEWSLETTER
We only send emails when there are important updates or news. We hate spam.
Choosing a selection results in a full page refresh.